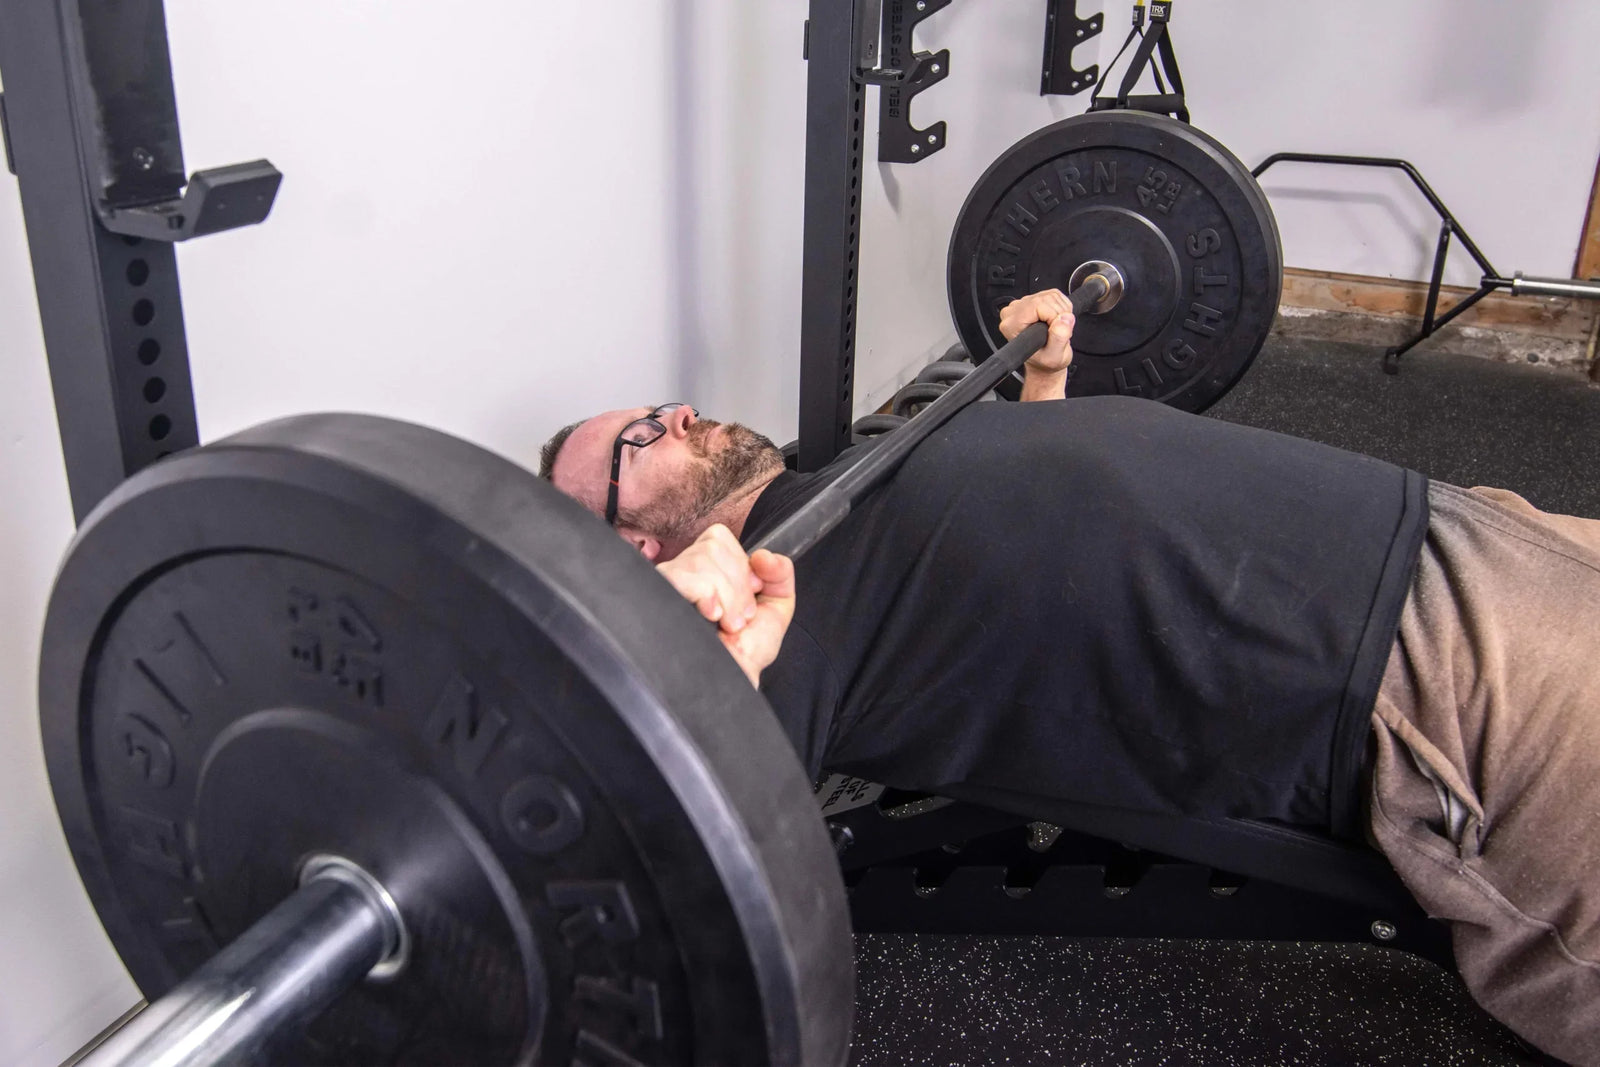
When it comes to strength training, the bench press might just be the most popular exercise of all time. After all, who doesn't like performing an exercise that targets multiple muscle groups and allows you to impress your friends? But building a strong, pain-free upper body and an impressive bench press to accompany it is tough when your muscles, tendons, and joints aren't ready for your workout demands. After all, the only thing worse than working hard and not making bench press gains is to make your chest, shoulders, and triceps feel like hot garbage in the process. That's why a proper bench press warm-up is a must for shoulder health.
Like my other article, The Perfect Squat Warm-Up, this piece will walk you through effective strategies and concepts that you can implement to ensure you make good things happen for your upper body and its performance.
As a result, your upper body will perform better in your workouts and be ready to tolerate the stress and forces moving through your joints, tendons, and muscles as you bench press to your heart's content. In other words, more weight lifted with fewer aches and pains. The four concepts for an effective bench press warmup can each be summed up in a single word:
- Elevate
- Mobilize
- Stabilize
- Activate
By implementing each concept, you'll be able to keep your shoulders happy and your bench press heavy—not a bad deal, eh? Even better, the entire process should only take around 10 minutes—a small price to pay for less pain, greater training longevity, and better overall bench press performance. So, follow the steps below to learn how to achieve a time-efficient and effective warm-up that optimizes performance while reducing aches and pains.
The first step with any effective warmup — even for an upper-body workout — is to elevate your heart rate with steady-state activity. Yes, this is worth doing even if you only plan to perform strength training exercises within your training session. Since you're gearing up for bench press (and likely additional upper-body exercises), performing a steady-state exercise that involves moving your upper body is ideal.
You can do full-body movement with equipment like the Blitz Air Bike, Blitz Air Rower, Blitz Ski Trainer, or similar devices. There's no need to do anything intense here; just aim to break a mild sweat by the five-minute mark of your movement. A light sweat indicates that your body knows it's time to start gearing up for more intense physical activity.
Continual movement will elevate your heart rate, forcing increased blood flow through your pectoral, triceps, and deltoid muscles (along with all other muscles in your upper body), which helps increase their temperature and enhance their movement efficiency. The takeaway: Continual movement performed at a mild-moderate intensity for approximately five minutes will create a systemic (full-body) response. Your body will function more efficiently for the rest of the warmup process and your subsequent workout.
Now that your heart is pumping and you've broken a light sweat, the next step is ensuring optimal movement around your shoulder joint. If you've decided to perform Step 1 with an upper-body component, you're already well on your way. If your steady-state exercise in Step 1 was purely lower-body movement, don't worry; you'll still be able to take care of everything just fine here in Step 2. Optimizing your shoulder mobility for your upcoming workout consists of two critical components:
- Mobilizing the muscles that cross your shoulder joint.
- Mobilizing the shoulder joint itself.
- Grab a light to moderate kettlebell with both hands. There are different ways to hold onto it during this exercise, so find what feels best for you.
- While standing or kneeling, slowly rotate the kettlebell around your head (like you're drawing a halo) in as large of a circle as possible using slow and controlled movement. You can start with smaller circles and progress in size if needed.
- Perform this movement continually for around 45 seconds without stopping.
- Take a quick break, then repeat the process in the opposite direction.
If done slowly with an ideal weight and continual movement, you should feel that your shoulders are truly waking up and ready for further action. The takeaway:
Performing one or two exercises through large ranges of motion will help mobilize shoulder muscles and the joint, reducing injury potential and optimizing bench-press performance. Stiff shoulders can cause all sorts of aches and pains in lifters.
Now that your joints and muscles are warmed up, the next step is to activate the muscles crossing over your shoulder joint to keep the joint stable when performing your exercises. After all, mobility doesn't mean much if the joint isn’t stabilized. This step involves simultaneously activating all of the muscles around your shoulder to help ensure they're "calibrated" and ready to hold a heavy load in your hands. This process is known as co-contraction. Don't get this step confused with Step 4, where you'll activate your nervous system — that’s a slightly different concept. My favorite way to activate my shoulders for serious stabilization is with shoulder taps. Here's how it works:
- Assume the full plank position with your elbows straight. If need be, you can perform the plank from your knees, which will be less demanding on the shoulders.
- Slowly take one hand and tap it to your opposite shoulder while working to keep your hips and back as still as possible.
- Slowly return to the starting position and repeat with the opposite arm, alternating back and forth.
Aim for 1-2 sets of 30-45 seconds of this continual movement. Your shoulders should feel mild fatigue from the high degree of co-contraction (all shoulder muscles simultaneously contracting to increase their stability). The takeaway: By performing an exercise that requires a high degree of co-contraction of the shoulder muscles, your body will be better prepared to stabilize and control the barbell or dumbbells you'll be pressing, reducing your chance of injury and improving your performance.
With your upper body just about ready to hop under the bar, the final step is letting your nervous system know it's time to rock and roll. Your nervous system supplies the electrical signals to your muscles, which forces them to contract. A "sleepy" nervous system won't force your muscles to contract with the same intensity as one that's fully awake. The best way to ensure your nervous system is alert and ready to go is by performing rapid or explosive movement against light resistance. Around 25-30% of your one rep max (1RM) should suffice. Two of my favorite exercises for ramping up the nervous system (known as neural potentiation) are:
- Explosive bench press
- Plyometric pushups off of a bench
- From your knees, lean against the side of a workout bench with your hands the same distance apart as they are when performing the bench press.
- Slowly lower your chest towards the bench (the same movement as the bench press itself).
- Hold this bottom position for one or two seconds, then rapidly push yourself away from the bench. Use enough force to fling your body into a fully upright position.
- From this upright position, place your hands back on the edge of the bench and repeat, making each repetition as explosive as possible. Ten to fifteen repetitions should suffice.
The takeaway: A nervous system that's more alert and ready for the upcoming demands of heavy pressing optimizes your performance and reduces the chance of muscle strains, aches, and pains. Following the principles mentioned earlier will effectively get your shoulders ready for bench pressing. This preparation will lower the risk of experiencing discomfort and also boost your performance during your training session.
Now that you know the process for keeping your shoulders happy and your bench press heavy, go lift some iron!
Disclaimer: None of this is medical advice and is for informational purposes only; please seek an assessment from a qualified healthcare professional.
This is a guest post by Jim Wittstrom. Jim is a physiotherapist and strength & conditioning specialist currently practicing in Calgary, Alberta, Canada. His passion is to help others overcome their physical pain and come back stronger than before. For more great info, you can find him on Strength Resurgence.


