Whether building a beastly home gym or adding a new conditioning tool to your garage setup, learning how to hang a punching bag properly is essential.
A poorly installed bag can lead to damaged ceilings, wobbly workouts, or injuries.
This guide breaks down everything you need to know about hanging a punching bag safely, no matter your space.
How to Hang a Punching Bag
Before drilling or mounting, follow these essential steps to hang your punching bag safely, securely, and in the best spot for your training needs.
Step 1: Choose the Right Location
The first step is determining where to hang your punching bag. Ideally, you want:
- Ample space to move 360 degrees around the bag.
- Solid structural support—wooden ceiling joists, steel beams, or concrete walls.
- A location away from walls, windows, and breakables, allowing the bag to swing freely.
If you're training indoors, garages and basements are often the go-to. Outdoors? Overhangs or custom frames work great—just make sure they're weather-resistant.
Step 2: Know Your Bag and Ceiling Type
Most heavy bags weigh between 50 and 100 pounds—some even more. Your ceiling or mount must be able to support at least four times the weight of the bag to account for swinging and shock absorption.
You’ll also want to identify your ceiling type:
- Wood joists: Common in homes. You'll need to find the center of the joist for maximum strength.
- Concrete ceilings: Very secure but require a hammer drill and concrete anchors.
- Metal beams: Often found in garages or commercial spaces—heavy-duty clamps work best here.
Step 3: Mounting Options
You have several options depending on your setup and flexibility needs:
1. Ceiling Mount
The most common and space-efficient method. Use a heavy bag ceiling mount like a swivel hook or U-bolt bracket. Make sure you:
- Drill directly into the center of a ceiling joist.
- Use lag bolts for wood or expansion bolts for concrete.
- Add a spring or swivel to reduce noise and stress on your ceiling.
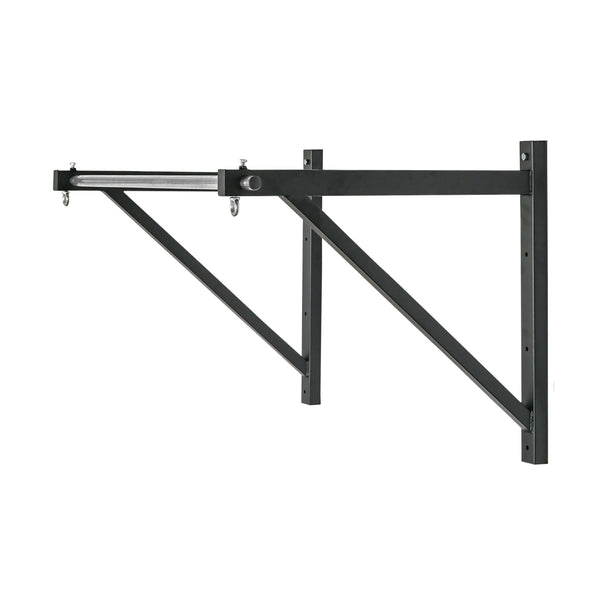
2. Wall Mount Bracket
This is perfect for those who don’t want to drill into the ceiling. A wall-mounted bracket extends from a load-bearing wall and keeps your bag away from obstacles. Make sure it's bolted into studs, not just drywall.
3. Free-Standing Frame
No drilling? No problem. A heavy-duty stand lets you hang your bag anywhere, especially ideal for renters or apartment dwellers. While portable, these stands take up more floor space and may shift if not weighted down properly.
4. Pull-Up Bar Mount
Some standalone pull-up bars (like those bolted to a wall or ceiling) include built-in eyelets for hanging bags. Make sure the bar is rated for the additional load before attaching.
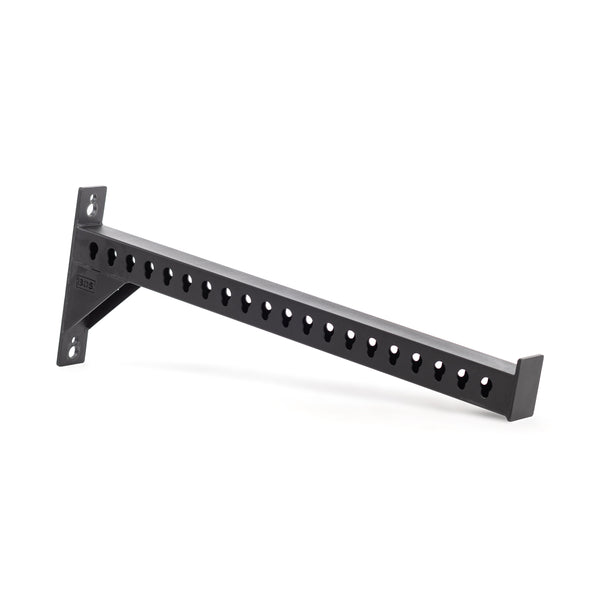
5. Utility Arm Attachment
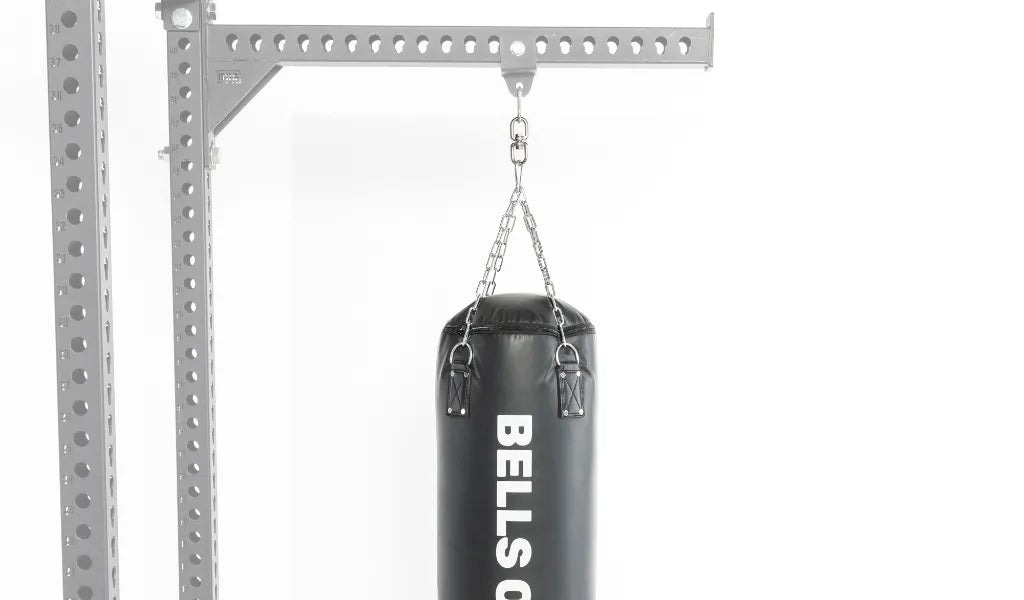
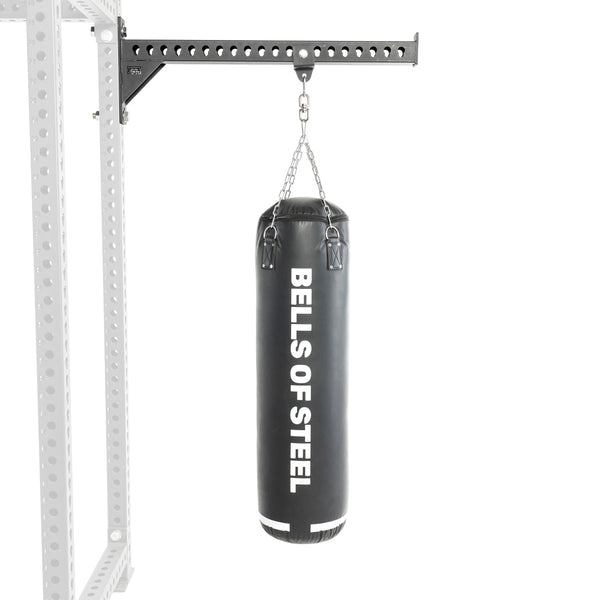
A Utility Arm can be bolted to select power racks or a wall stud that can easily handle even the heaviest punching bags. This is an excellent choice for those looking to integrate their conditioning tools seamlessly into their strength training space.
Step 4: Hang the Bag
Once your mount is secured:
- Attach a carabiner clip or S-hook to the bag’s D-ring or chain.
- Using a chain or adjustable strap to set the correct height, hang it from your chosen mount.
- The ideal height? The center of the bag should be at shoulder level, but adjust based on your training focus (lower for kicks, higher for uppercuts).
Pro Tips
- Add a shock absorber like a spring or rubber mount to dampen vibrations—especially critical in shared spaces.
- For ceiling joists, use a stud finder to ensure you’re drilling into the center.
- Check your bag’s hardware regularly for wear and tear.
- Consider placing a mat under the bag to reduce floor damage and noise.
Final Thoughts
A properly mounted punching bag can transform your home gym into a powerhouse of cardio, strength, and skill-building. Whether you're working jabs, combos, or conditioning circuits, hanging it right makes all the difference in safety and performance.


