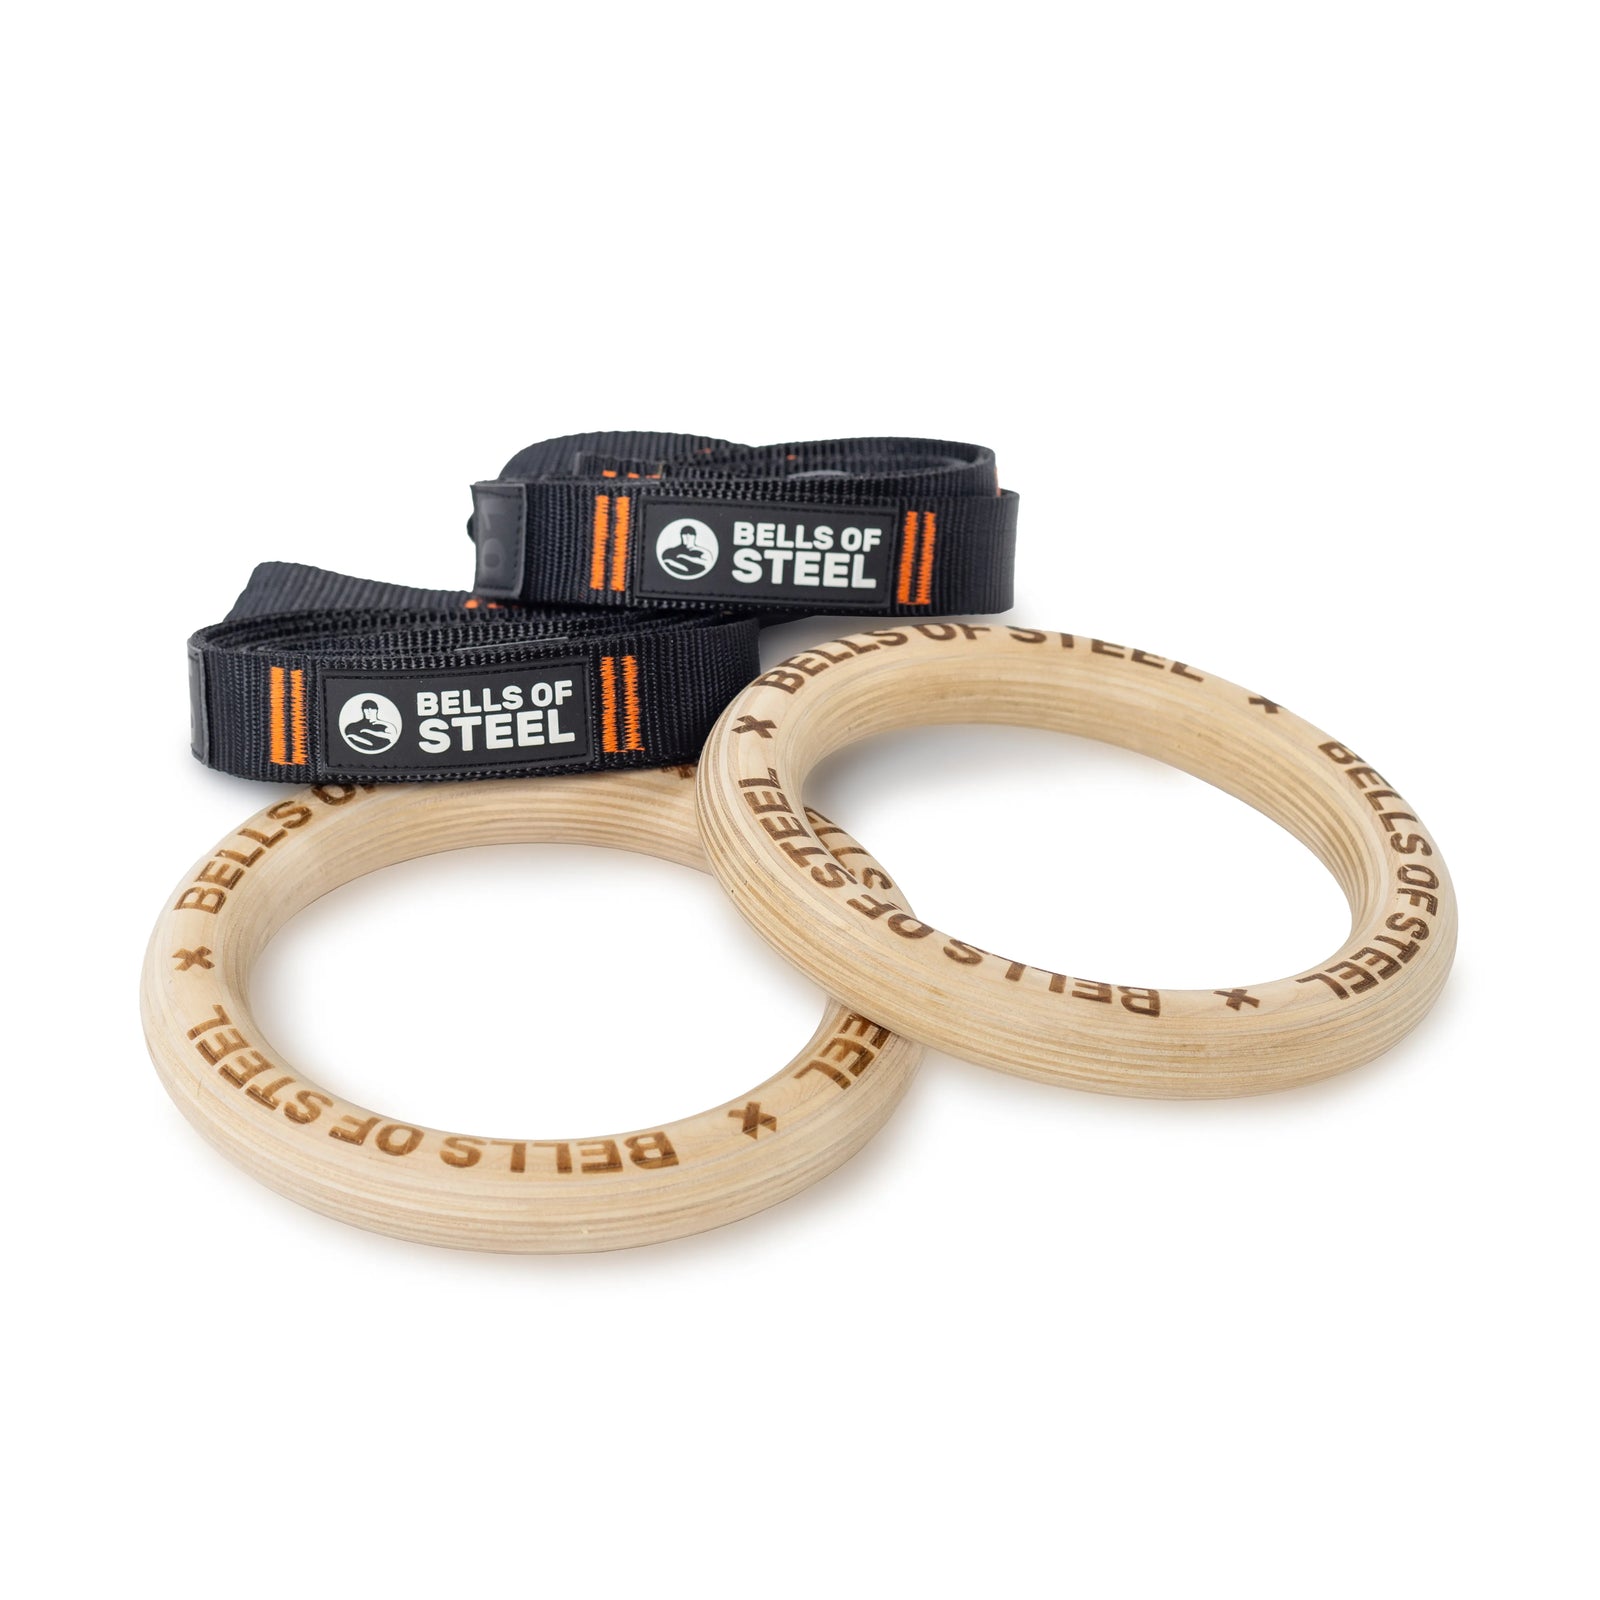
So, you've finally got yourself a pair of gymnastic rings—congratulations! You've just unlocked a whole new level of functional fitness.
But before you start swinging around like an Olympic gymnast, there's one crucial thing you need to get right: adjusting those rings. While it might seem like a straightforward task, making sure your rings are set up perfectly can make a world of difference in your workouts.
In this guide, we'll cover the two essential adjustments: width and height. By the end of this post, you'll know exactly how to tweak your rings for a killer workout.
Adjusting Width
Let’s start with the width adjustment because, honestly, it’s the easiest part of the setup. The width simply refers to how far apart the rings are from each other.
Getting this right is crucial for your comfort and effectiveness during exercises, but don’t sweat it—adjusting the width is as simple as it gets.
How to Adjust Width
- Find Your Sweet Spot: Stand between the rings and position them just slightly wider than shoulder-width apart. This setup will be comfortable for most people during basic exercises like push-ups, rows, or dips.
- Test and Tweak: Perform a couple of reps of your go-to ring exercise. If you feel like you're too cramped or like the rings are pulling you out of alignment, narrow or widen the gap a bit.
- Lock It In: Once you've found your sweet spot, make sure the rings are evenly spaced on both sides. Double-check that the straps are parallel to avoid any uneven tension during your workout.
That’s it! Adjusting the width is as easy as pie—just don’t eat too much pie before your workout, okay?
Adjusting Height
Now, let’s talk about the trickier part—adjusting the height of the rings. When we talk about height, we're technically referring to the length of the straps, but let’s keep it simple and call it “height”, shall we?
Getting the height just right can make or break your workout. The good news is, once you’ve mastered it, you’ll be able to tackle any exercise with confidence.
How to Adjust Height
- Decide on Your Exercise: The height of the rings will vary depending on what exercise you're doing. For example, if you're doing ring push-ups, you'll want the rings just a few inches off the ground. For muscle-ups, you'll need them higher—around chest height. Plan your workout ahead so you know how to set the rings.
- Using the Carabiner:
- Most gymnastic rings come with a carabiner that allows for quick adjustments. Simply clip it into another section of the strap webbing to change the height.
- Pro Tip: To avoid confusion, count the number of webbing sections you’re skipping between the carabiner clips on each strap. Consistency is key here; uneven rings are a one-way ticket to Wobble City.
- Using the Buckle:
- If your rings have a buckle instead, adjusting is a little trickier.
- First, release the buckle to loosen the strap. You can then lengthen or shorten the strap depending on the desired height.
- Once you’ve got the right length, tighten the buckle and lock the clasp to secure the strap. Give it a quick tug to make sure everything’s secure. Nothing ruins a workout faster than a ring that decides to take a nosedive.
- Test and Adjust Again: Just like with width, do a quick test of your intended exercise at the adjusted height. This step is especially important if you're planning to do something like muscle-ups where the rings need to be at just the right height.
Final Thoughts
Adjusting gymnastic rings might take a little practice, but once you’ve got it down, you’re in for a workout experience like no other. Remember, width is the easier adjustment, but getting the height right can make all the difference in your performance.
Whether you’re doing push-ups, dips, or muscle-ups, your rings should be your trusty sidekicks—perfectly positioned to help you crush your workout.


